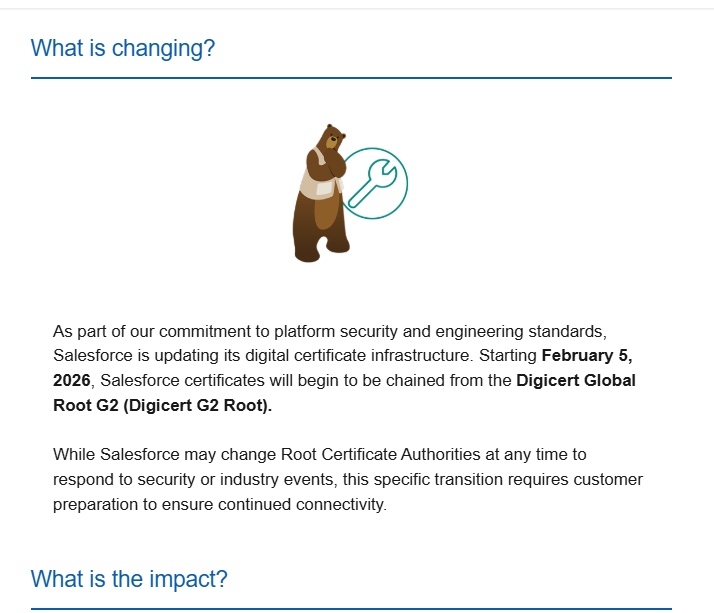
You have probably received a Salesforce notification about Digicert Root Certification change (from Digicert G1 to Digicert G2) on Salesforce side. Don’t throw this email !
Salesforce is about to impact its security certification structure, meaning that you will not be able to connect / interact with your Salesforce instance anymore, if your system or data integration chain is not prepared for this change.
Who is impacted by this change ?
You may be impacted, by the certificate change, in the following cases :
- you use Salesforce through an outdated computer and web browser, or through a custom app whose code is not properly managed or contains hard-coded connectivity information.
- your Salesforce instance is connected to other servers (for data synchronisation)
- your Salesforce instance is connected to middleware solutions or integration platforms (for data synchronisation)
If you are in this case, and do not audit your connections / applications before February 5th, your users may experiment connectivity issues when trying to logging to / reaching out your Salesforce instance.
If you have developed custom applications, or data synchronisation processes / flows, make sure that you have not hard-coded certificate-related information in your code, due to either a lack of best practices, or because you have implemented certificate pinning on « to-be-expired » certificate for security purpose.
Am I concerned if I am a Salesforce user ?
To be able to connect to Salesforce (User interface, or technical one), you must ensure that your server / custom application / web browser trusts the Digicert G2 Root Certification.
Most users accessing Salesforce, through their web browsers, are already up-to-date, if they regularly update their browser application, when requested to do so. Indeed, all recent and browsers already includes this certification in their trust store.
To test its presence on your browser, you can either :
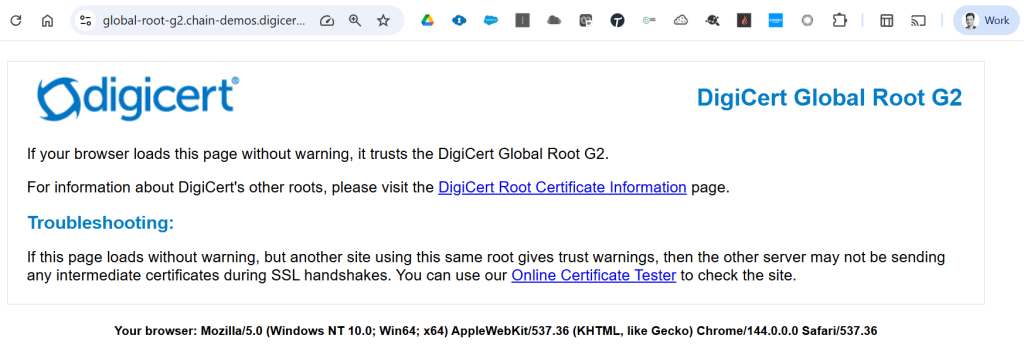
- Navigate to this verification URL : https://global-root-g2.chain-demos.digicert.com/ (waiting for the following page to load, if your browser trusts the Digicert Global Root G2 certificate)
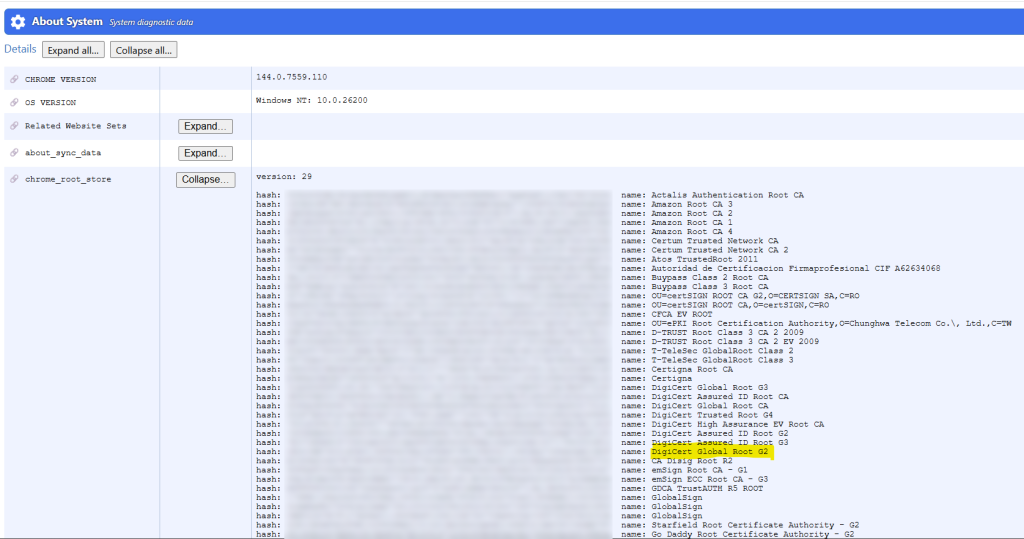
- Or access directly your Chrome Root Store through your Chrome System page by navigating to : chrome://system. Click « Expand… » button on the chrome_root_store line :
You can also find the certificates handled by Chrome in the following document : https://chromium.googlesource.com/chromium/src/+/main/net/data/ssl/chrome_root_store/root_store.md
As you can see in the screenshots above, both G1 and G2 Root certifications are present in this Chrome trust store. Even G3 Root certification is present 🙂
| Subject |
| CN=DigiCert Global Root CA,OU=www.digicert.com,O=DigiCert Inc,C=US |
| CN=DigiCert Global Root G2,OU=www.digicert.com,O=DigiCert Inc,C=US |
| CN=DigiCert Global Root G3,OU=www.digicert.com,O=DigiCert Inc,C=US |