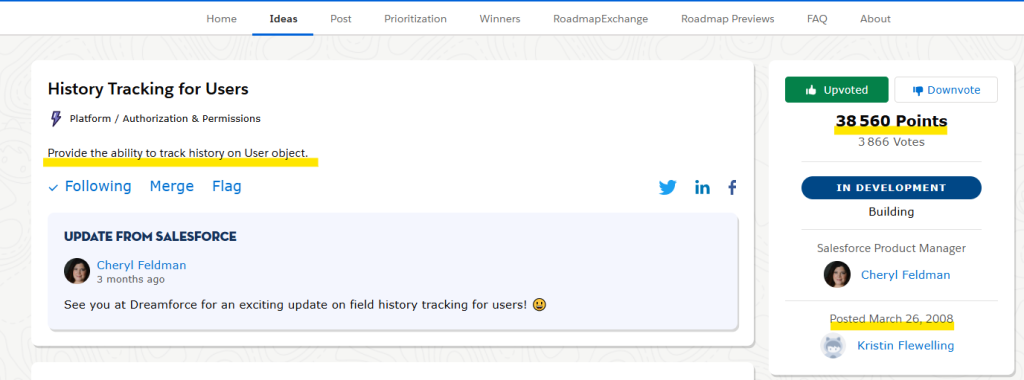
As you have already learned from Salesforce Release Update documentation, and from my last article on this topic (« WINTER’26 – User Field History Tracking – new feature to track changes on Users »), Salesforce now allows to track changes on User records (beta feature coming with Salesforce Winter’26 release). We will see today where to find this information.
For the time being, you cannot add it on a User layout / lightning page, and you also need to wait for the different usual Salesforce extensions / tools need to be able to query on this new standard (v65.0) UserHistory object.
So, where can we visualize User History information in Salesforce new Winter’26 release ?
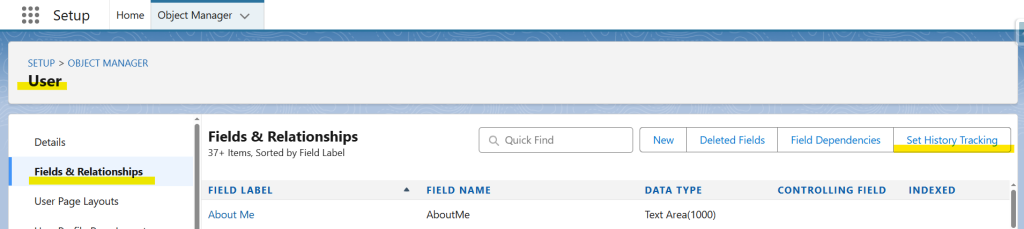
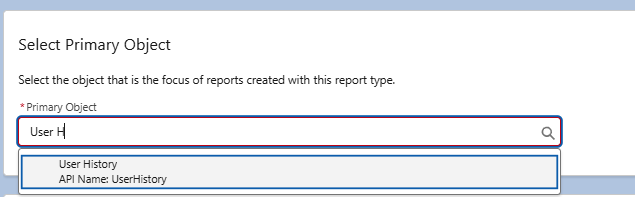
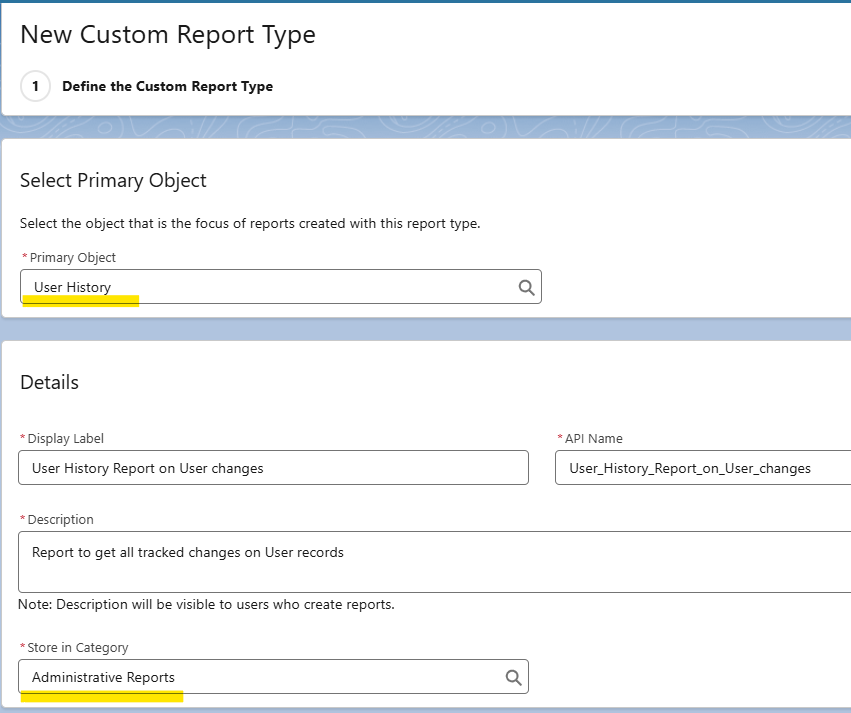
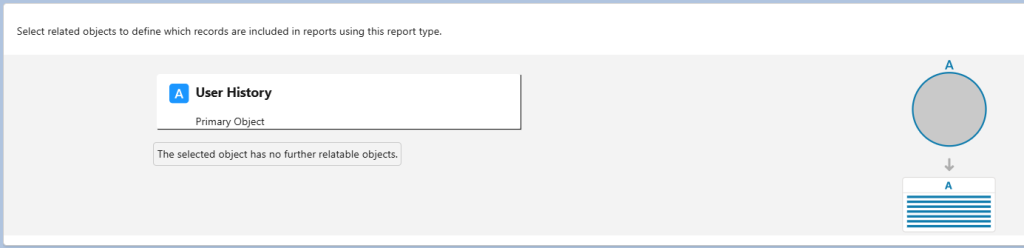
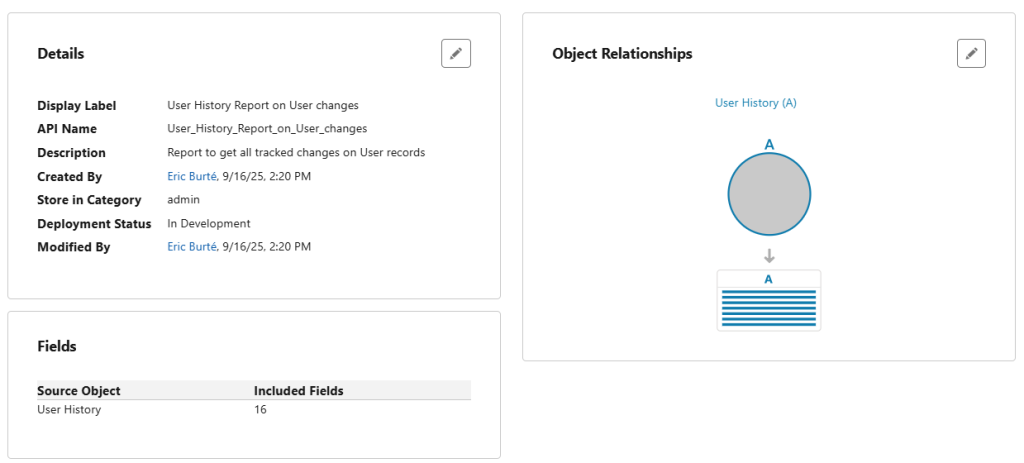
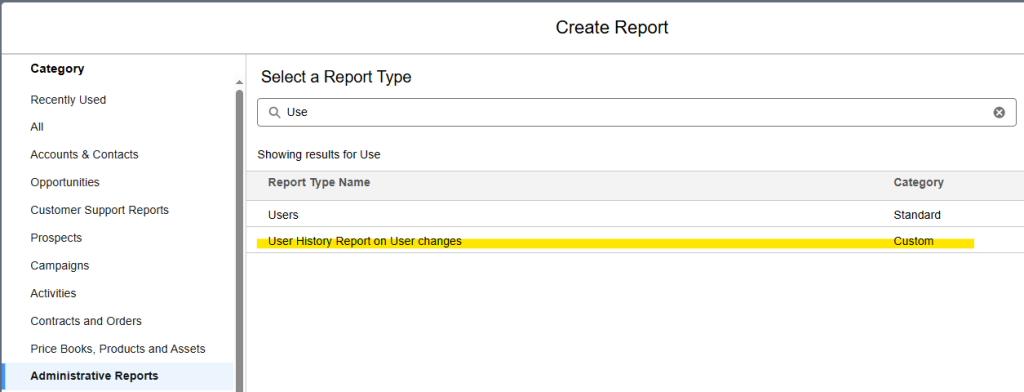
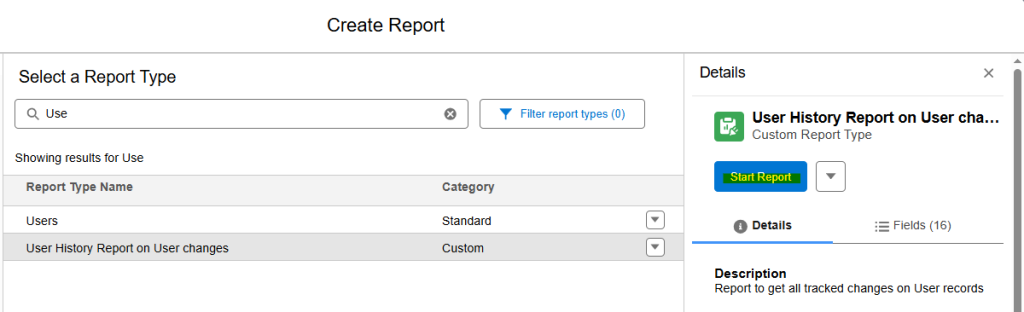
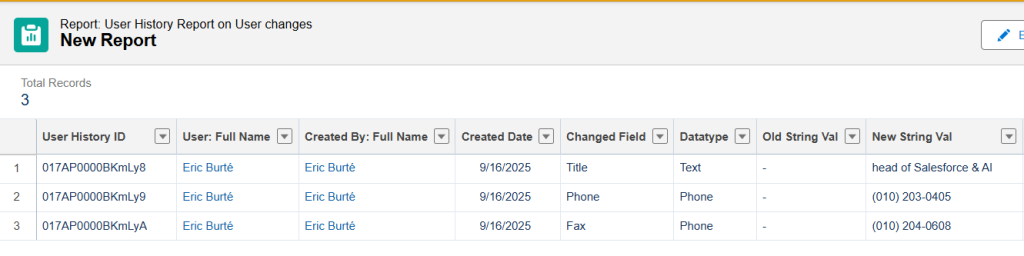
To access this information (as described in my previous article), you can indeed access this information from a custom report type !
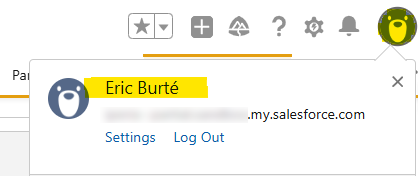
But, you can also access this information from the User page (click on the Avatar icon, and then on your name) :
From the Chatter part, you can visualize all recent updates with old and new values for fields tracked this way, or changes that happened for fields where only the change information is logged without values.

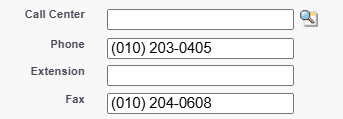
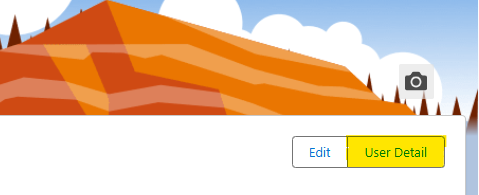
Secondly, from the same user page, when you click on User Detail button, you access the traditional user record creation / update page.

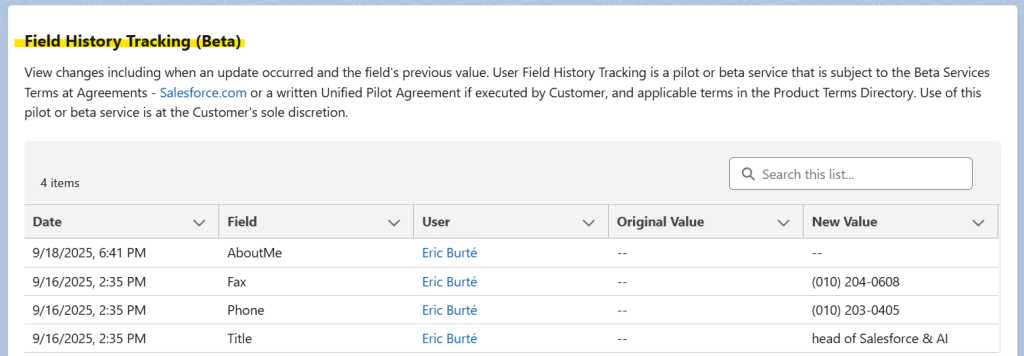
On the top of the page, click on the View Summary button, and scroll down to the very bottom of the page in order to be able to visualize this user changes history, in a more compact and tabular way.
Even in beta, do not hesitate to quickly set up this feature to be more in control about what really happens when your user records are updated ! Have fun !
To read more on the subject
- Release Notes – User History tracking in Salesforce new Winter’26 release : https://help.salesforce.com/s/articleView?id=release-notes.rn_field_history_tracking_beta.htm&release=258&type=5
- Previous article on UserHistory : « WINTER’26 – User Field History Tracking – new feature to track changes on Users »