Salesforce MFA was first presented in early 2022, with the possibility to deactivate it, or remove users from it. 4+ years later, as written in this previous article, MFA was finally meant to be enforced by Salesforce on all instances, for all users, starting as of June / July 2026…
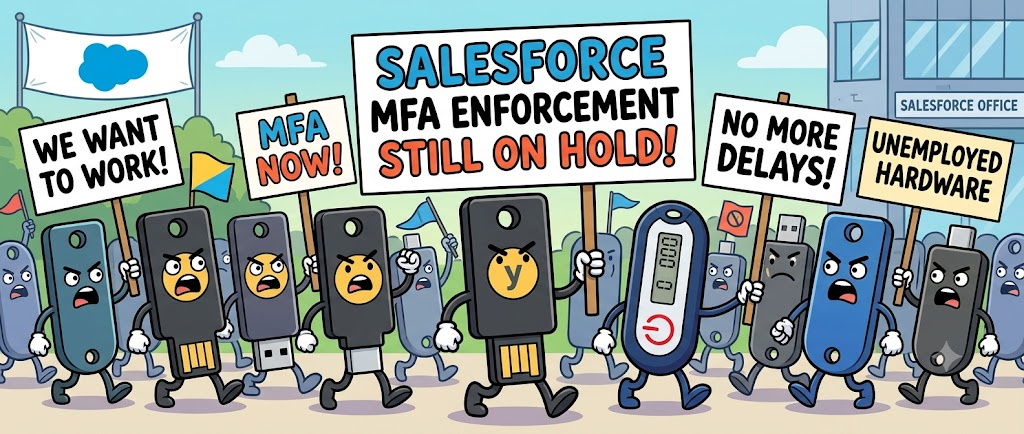
… except that Salesforce just placed this MFA enforcement ON HOLD on July 1st (exactly on the same day it should have begun to be enforced for Production instances).
Planning was originally presented this way (with close dates between the enforcement on sandboxes, and the enforcement in Production) :
- Sandboxes: Starting June 22, 2026, staggered over approximately 7 days
- Production: Starting July 1, 2026, staggered over approximately 30 days
Since the first communications (march 2026) mentioning that the MFA enforcement would soon be mandatory, all clients had rushed trying to identify all the concerned users and the related impacts, understand the possible solution, and order security keys for their employees. Some clients missed the communication, and some others – especially for integrators, or consultancy firms – were still wondering how they would manage providing keys for all their consultants working on different Salesforce instances / projects.
Ok, great news for the latter ones ! this security update is On Hold…
… but that does not mean that you must stop all actions about it, especially because it deals with security.. So, it basically gives you more time to tackle these actions, and make sure that this will not be the mess for all unprepared clients (and integrators) when it is really going to be enforced. So keep on working on it !
As a reminder, there is the new MFA methods according to
- the User Profile or User ‘s Permissions (Standard MFA for standard user ; Phishing Resistant MFA for System Administrators or Highly permission-granted users)
- the type of login (login directly through Salesforce UI ; SSO-powered login)
| Tier | Direct Salesforce Login (Salesforce MFA verifiers) | SSO Authentication Method Reference (AMR) Signals | SSO Authentication Context Class Reference (ACR) Signals | Result |
| Phishing- Resistant MFA | Security Keys (WebAuthn), Built-in Authenticators (Touch ID, Windows Hello), Admin-Generated Temporary Verification Codes | cert, face, fido, fido2, fpt, hwk, iris, passkey, phr, pki, pop, pwlesspasskey, retina, sc, smartcard, swk, tlsclient, wia, x509 | fido, fido2, fpt, hwk, passkey, phr, pki, pwlesspasskey, retina, smartcard, swk, tlsclient, wia, x509 | Successful login. |
| Standard MFA | Salesforce Authenticator, TOTP Apps (Google/Microsoft Auth) | mfa, mobiletwofactorcontract, multipleauthn, okta_verify, pin, pgp, publickey, rsa, timesynctoken, user, vbm | mfa, mobiletwofactorcontract, multipleauthn, okta_verify, pgp, publickey, rsa, timesynctoken, vbm | Successful login |
| Weak / No MFA | No MFA | pwd, sms, tel, email | Login blocked until enrollment and use of standard MFA verifiers | |
Have a nice summer, dealing with users, access management, and security !
To read more on the subject
- Previous Article on the same topic : https://forcewalk.com/summer26-mfa-enforcement-after-summer26-release/
- Help Article – Prepare for MFA Enforcement for All Employee Users : https://help.salesforce.com/s/articleView?id=005321561&type=1
- Platform’s security-related roadmap : https://help.salesforce.com/s/articleView?id=005317465&type=1